
About glassless framing: There is a long tradition of exhibiting photographs in black gallery frames with white mats, usually with glass or acrylic. Most prints are subject to fading or discoloration over time so need protection from UV light. But with glass come reflections that detract from any image.
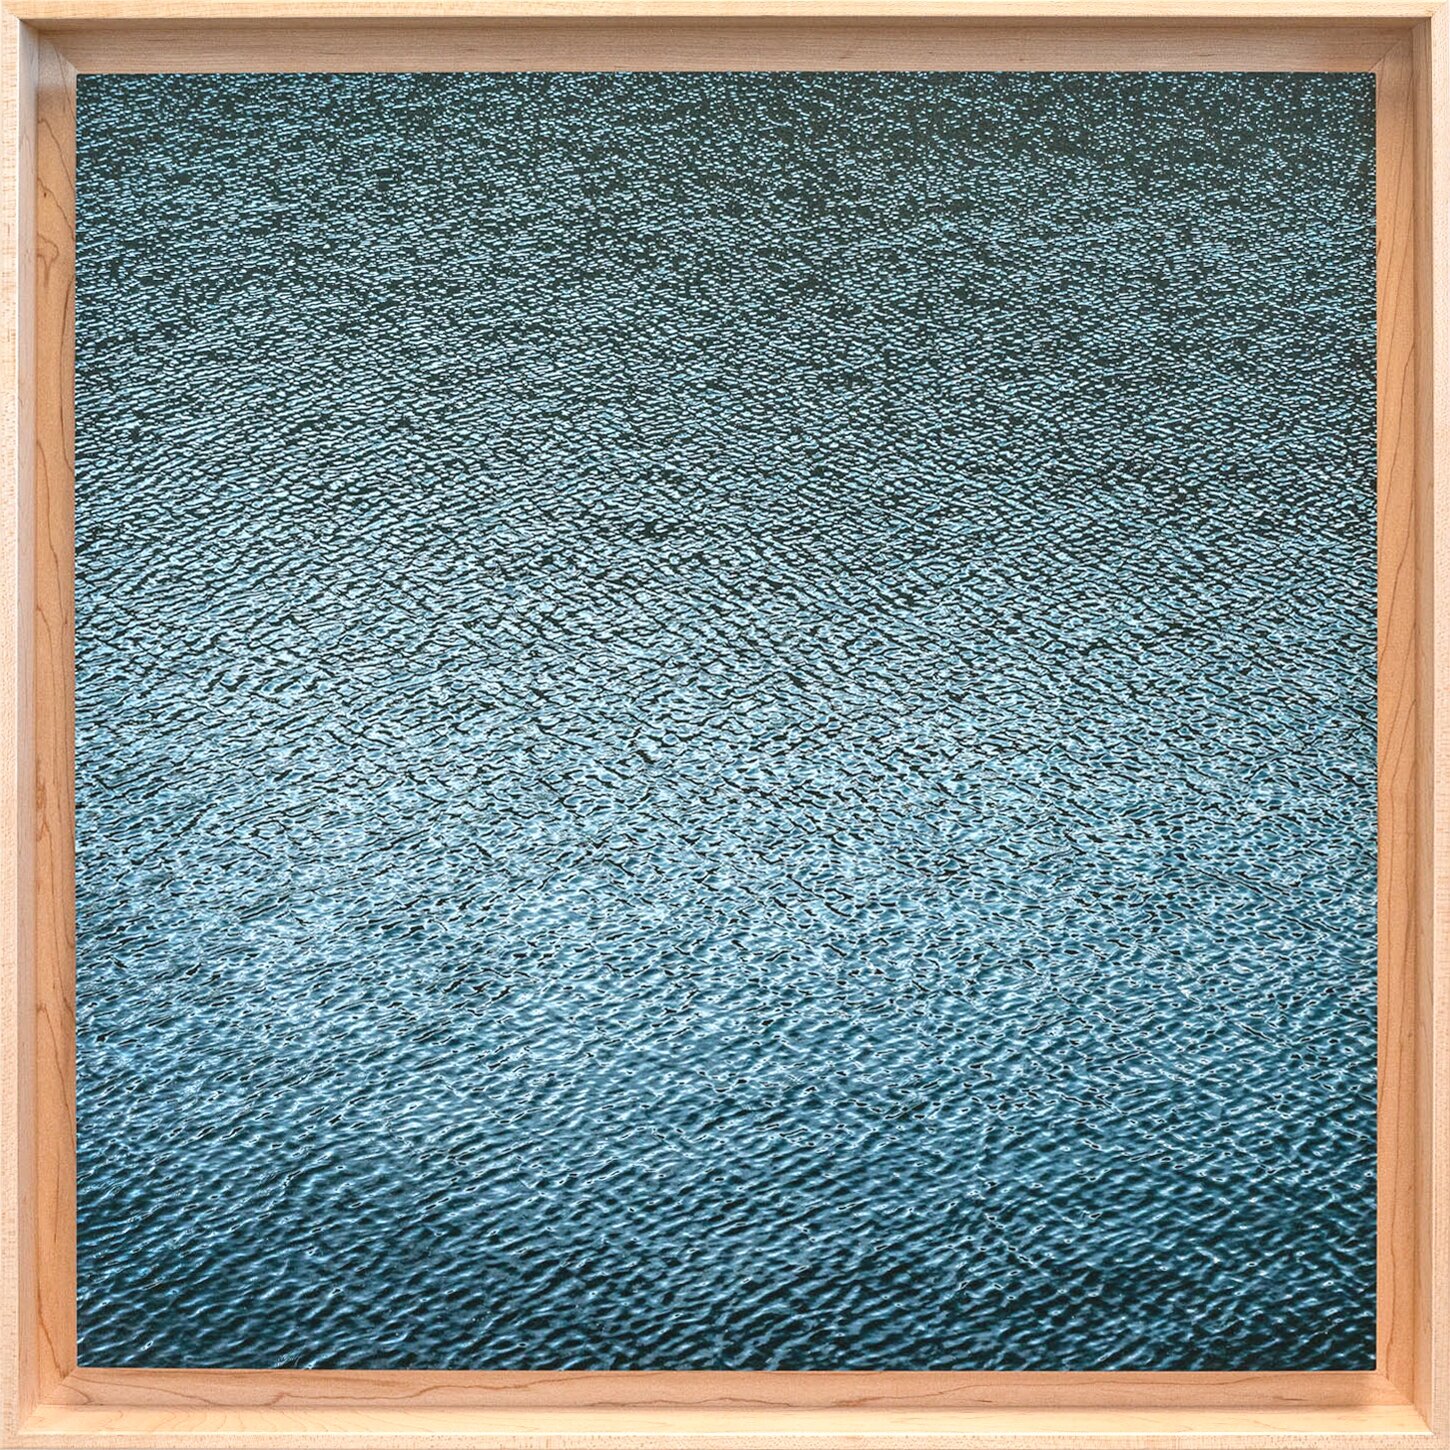
The image below was made with the print floated in a frame with UV-filtering acrylic. The buyer complained about reflections from a pair of large windows. The glare is obvious on the left side of the image, but there is a haze all the way across because the acrylic picks up reflections from everything in the room, not just the bright windows.
I made a new print and framed it using the technique described below. The reflections and haze are gone, and the image is actually enhanced by the window light. See below for a summary of the process. If you want more detail, here is a full Step-By-Step.

Printing: I use a state-of-the-art Epson giclee printer with twelve pigment ink colors. I mostly print on Somerset Velvet, a slightly textured paper fine-art paper. Like a watercolor paper, it absorbs pigment inks very well, and the texture diffuses light to further reduce any glare.
Coating: Prints are sealed with three coats of Eco Print Shield, a water-based UV-filtering varnish that is crystal clear. The luster finish can be wiped with a damp cloth if needed. This ink, paper and coating combination has permanence rating of more than 100 years. The adjacent photo shows the coated surface on the left, unfinished print on the right.The finish adds lots of tonal and color depth.
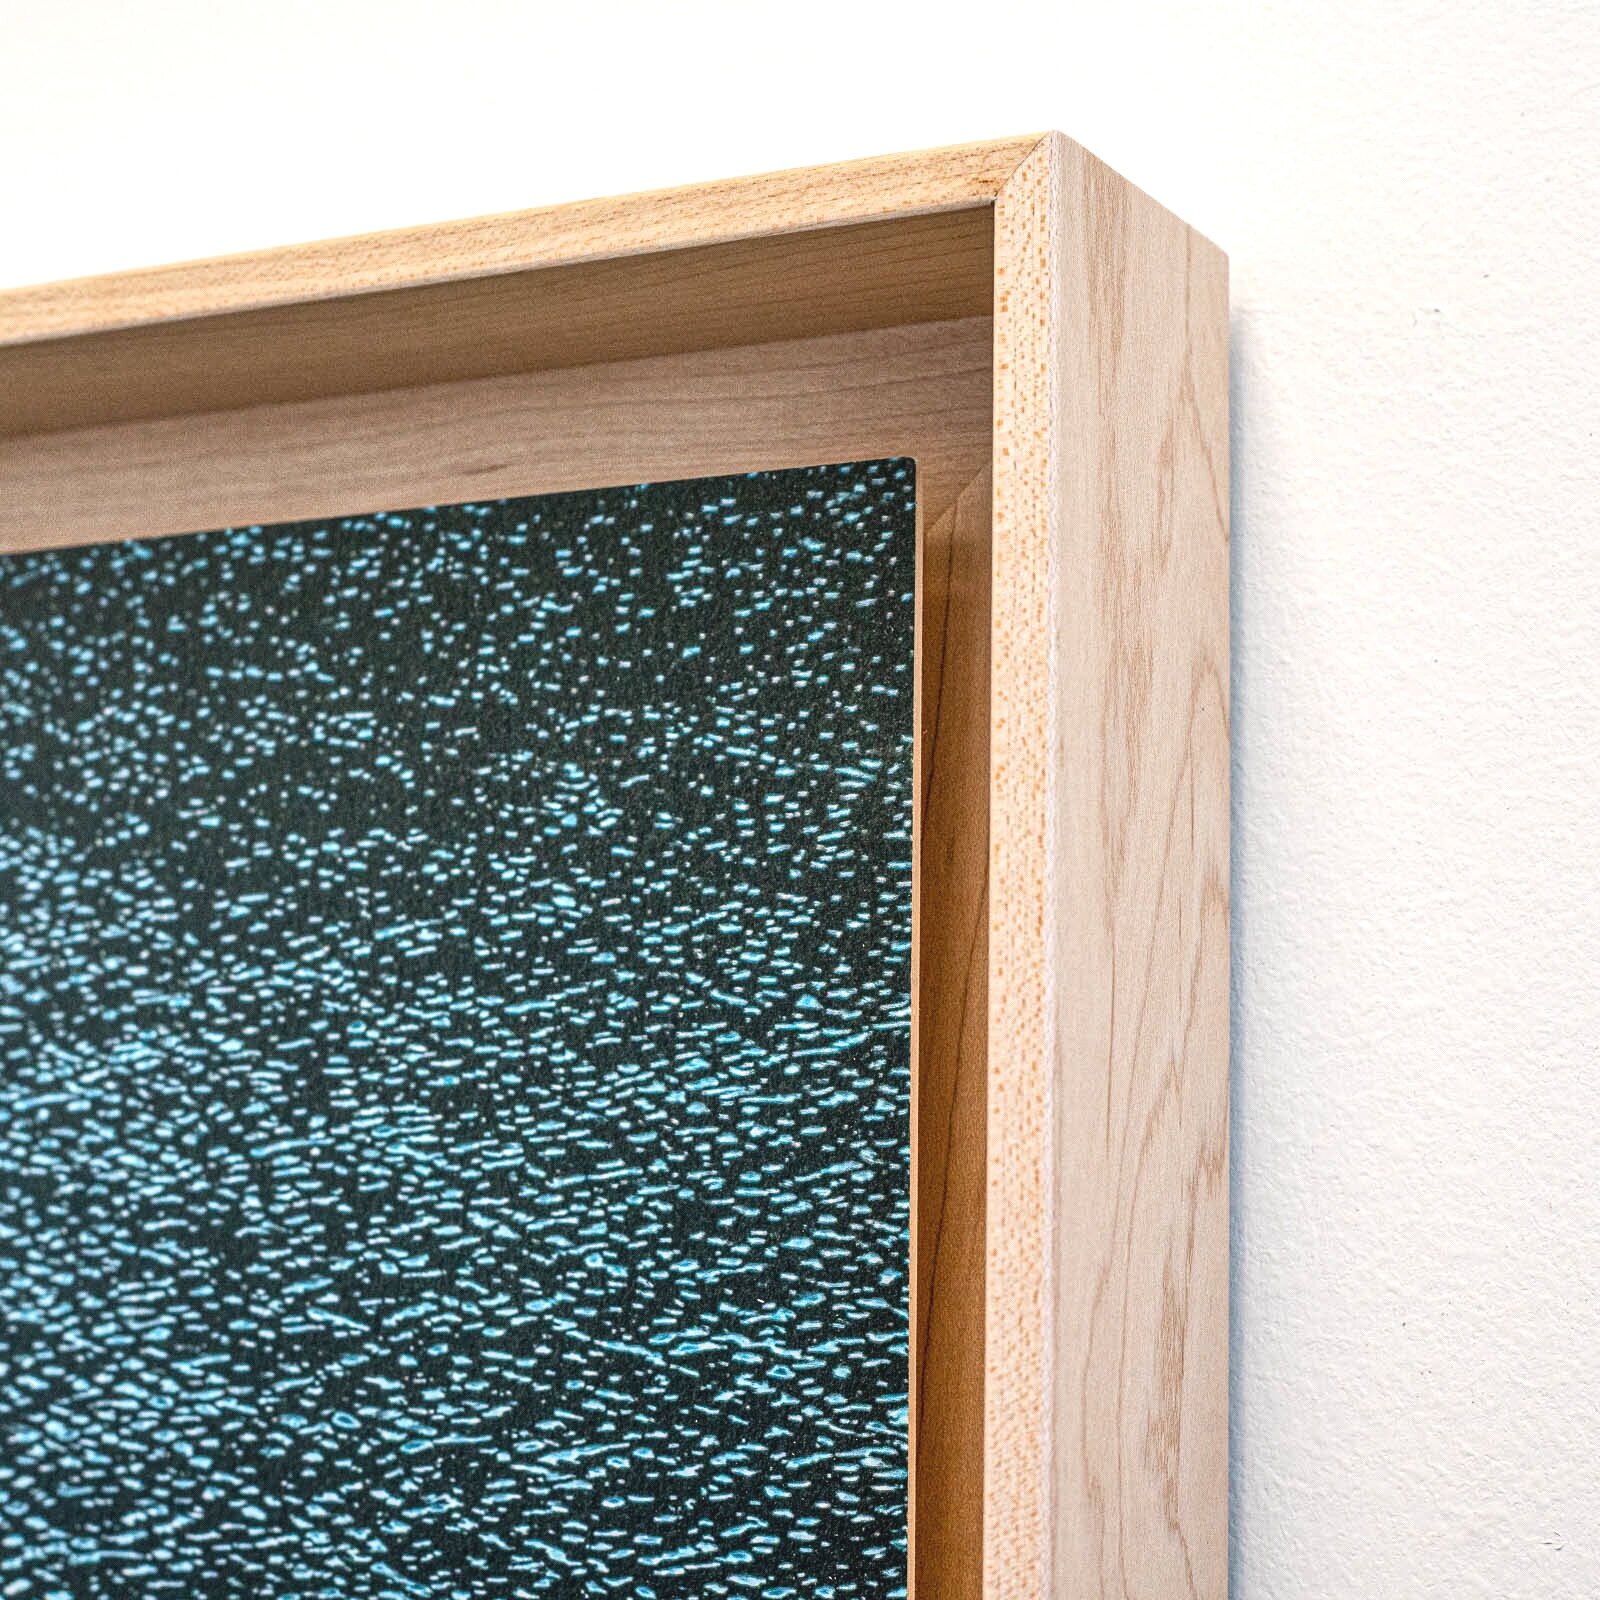
Mounting: Prints are laminated to acid-free mat board with a permanent pH-neutral adhesive. After the prints are trimmed, I use a sharp file to round the corners slightly so they won't catch on dust cloths. The edges are sealed with the same polymer.
Frames: I stock three different moulding finishes: natural maple, white maple and black walnut. All are true hardwoods with visible grain. Custom moldings are also available.

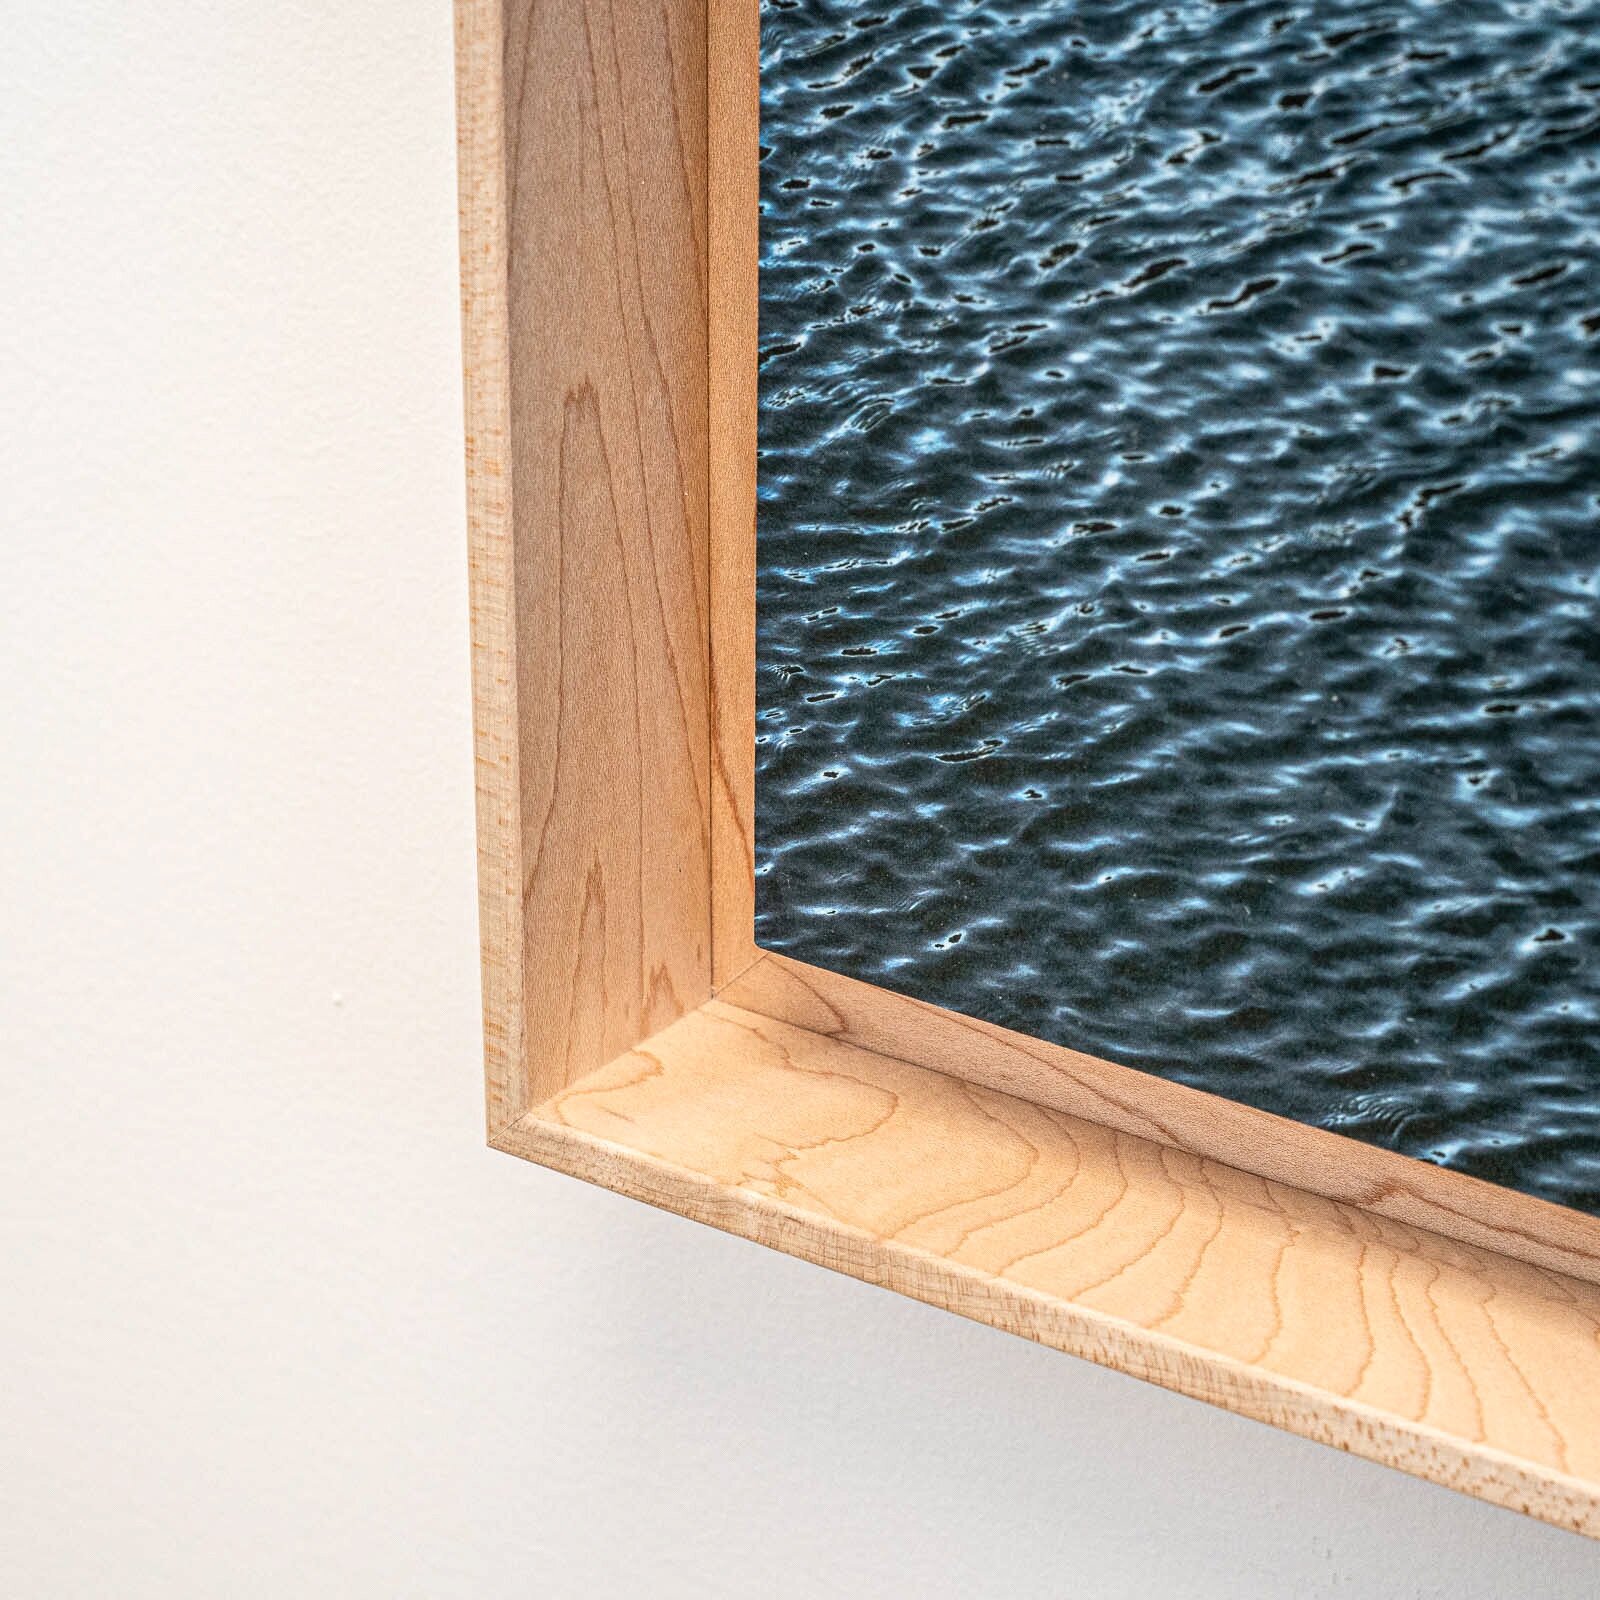
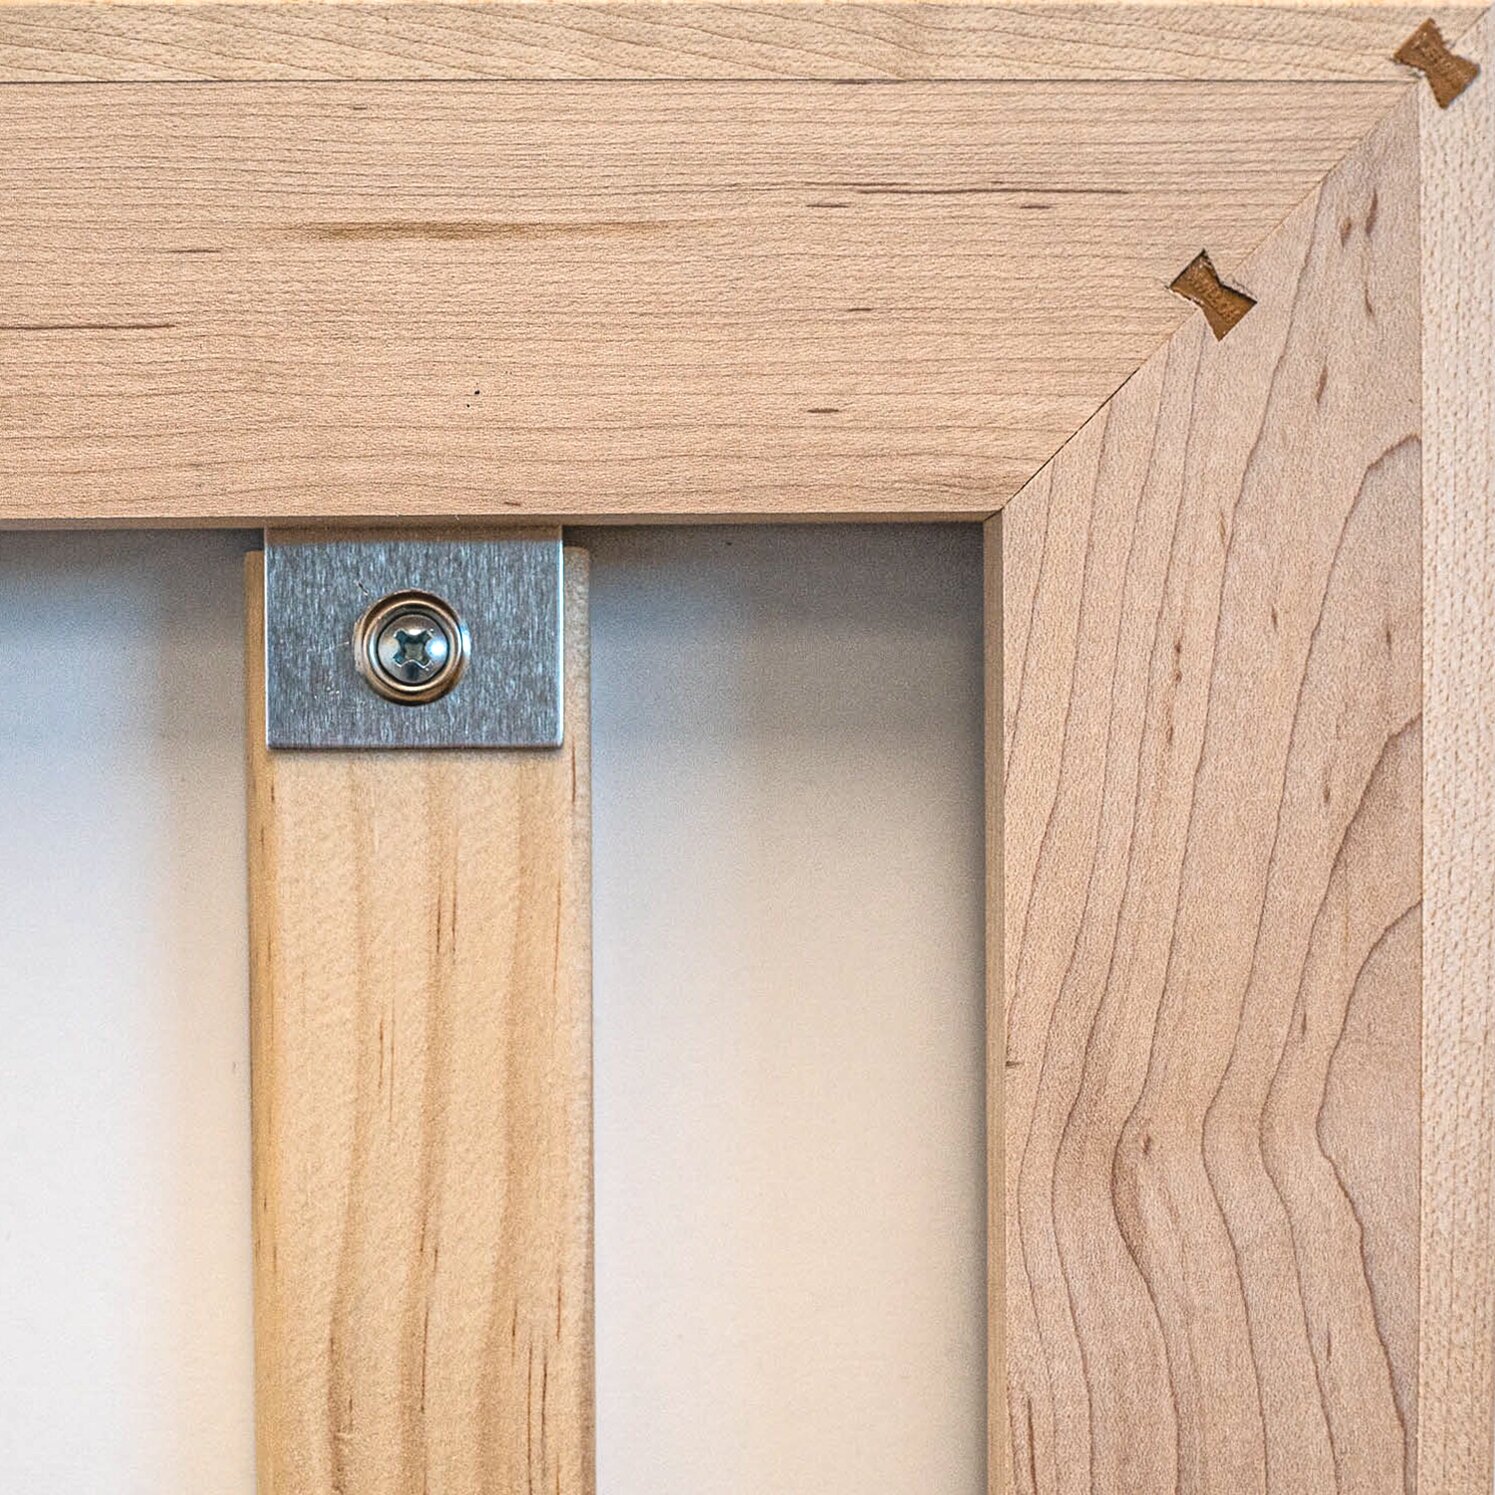
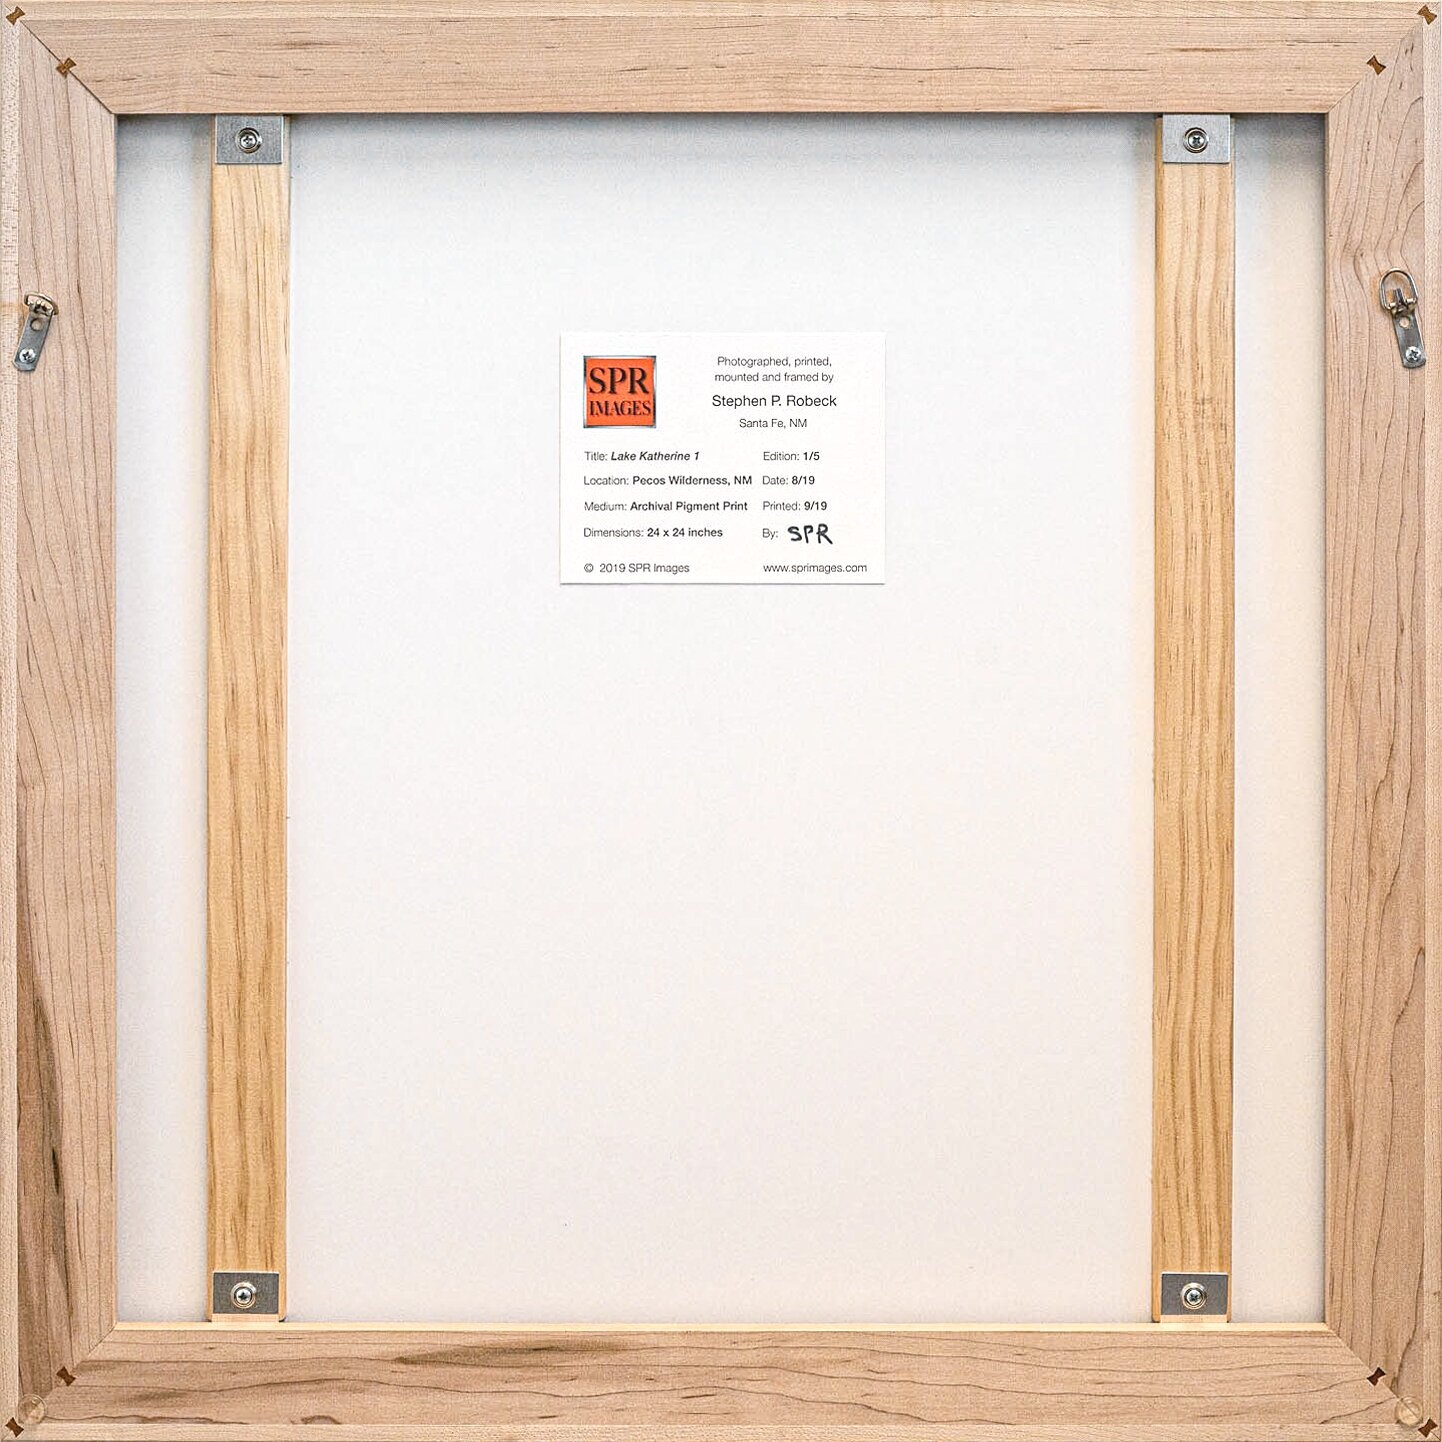
Finishing: The frame pieces are cut to size with a miter saw, and the corners are routed for dovetail inserts. The finished frame is perfectly square and very strong. As a final step, the corners are "dressed" by hand with a file.
Mounting: Prints are mounted with two or more wood supports attached with screws to the inside edge of the frame using custom made aluminum tabs. The last step is to position the image in the exact center of the frame and permanently glue the laminated print to the wood slats. A nice feature of this technique is that it’s easy to remove/replace the print in the event the frame needs repair.
Hanging: Smaller images come ready to hang with picture wire attached and complimentary picture hooks included. Larger images come with D-rings installed and instructions for hanging with two separate picture hooks. Once hung they will stay level forever!
Cleaning: A small, angled paint brush is great for dusting the inside of the frame, especially the corners.